Skip to content

Country

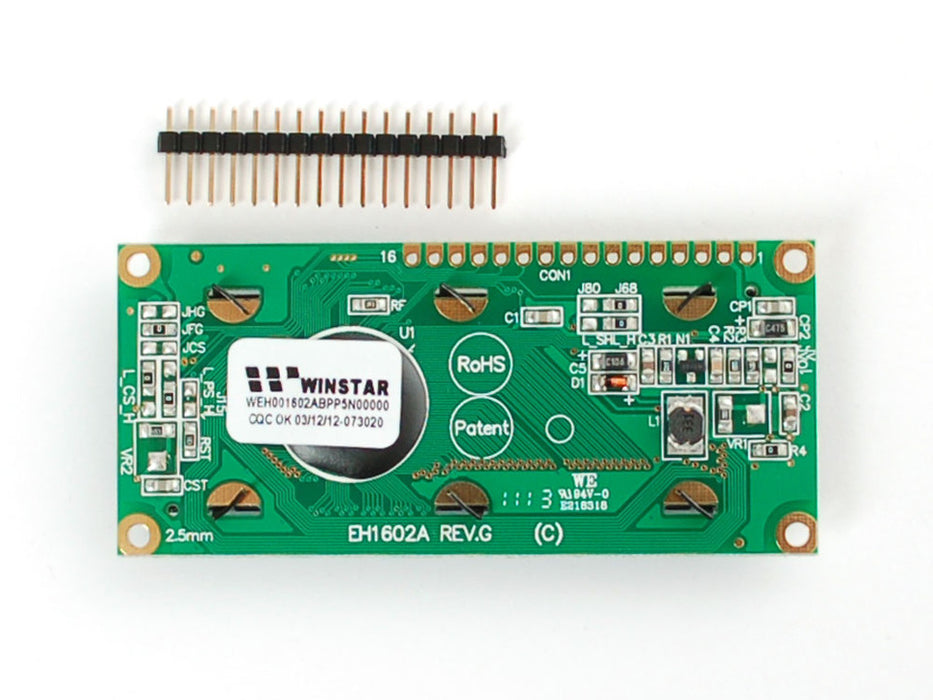
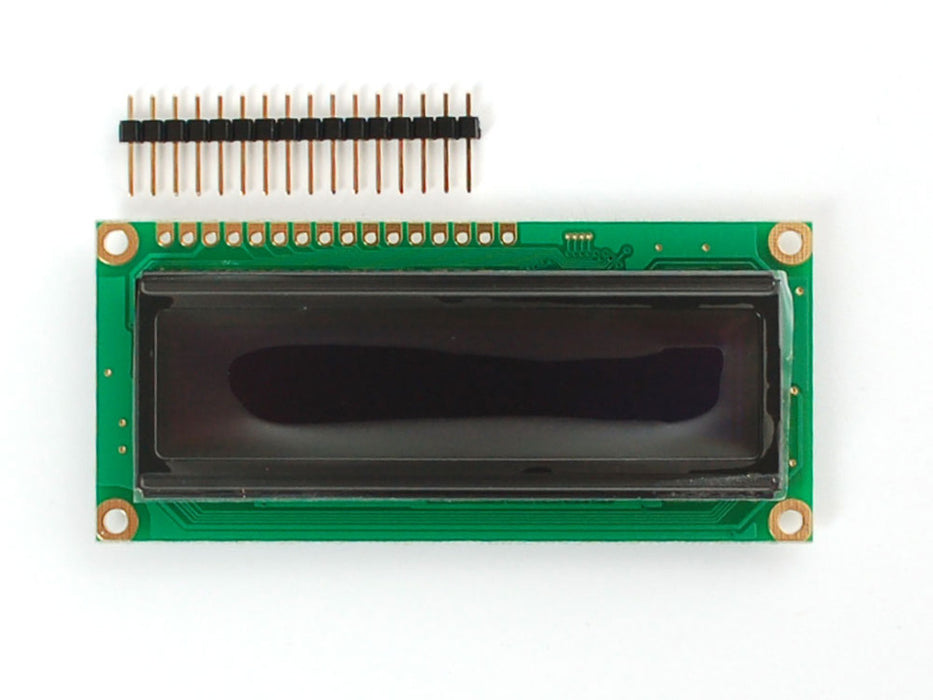
Adafruit Blue Character OLED 16x2

SKU ADA-823
Sold out
Original price £20.83 (ex:Vat)
Original price £20.83 - Original price £20.83
Original price £20.83 (ex:Vat)
Current price £16.67
£16.67 - £16.67
Current price £16.67
(ex:Vat)
Availability:
Out of stock
Request a quote
When you need low power, ultra-high contrast and any-angle readability, you can't beat these great looking character OLEDs. They are pin/shape compatible with 'standard' HD44780 LCDs. The code is slightly different (they're more timing sensitive) so Adafruit have their own Arduino library that plays better with the OLEDs than the standard LiquidCrystal library. Best of all, no backlight or contrast control is required, so they're even simpler to get running. This OLED is not compatible with any of our LCD shields or backpacks!
  • 16 characters wide, 2 rows
  • Bright blue OLED text on black background
  • Connection port is 0.1" pitch, single row for easy breadboarding and wiring
  • Pins are documented on the back of the LCD to assist in wiring it up
  • No backlight! Each pixel is an individual LED
  • Can be fully controlled with only 7 digital lines! (Any analog/digital pins can be used)
  • Built in default character set supports English/Japanese text. Can also be set to use Western European and Russian, see the WS0010 datasheet for the full character sets
  • Up to 8 extra characters can be created for custom glyphs or 'foreign' language support
  • Comes with a strip of header
  • Works with 3V or 5V power & logic
As an added bonus, the controller allows you to use it as a 100x16 graphic display as well - check the WS0010 datasheet for details. We don't have a tutorial for this mode. By default, the module is set up to be 4 or 8-bit HD44780 compatible. If you're handy with a soldering iron, you can apparently place it in 'SPI' mode, by changing some of the jumpers on the back of the PCB. We don't have a tutorial for using this mode, check the datasheets for details. For basic wiring information, check out the detailed step-by-step Arduino+LCD tutorial however, you'll need to use the character OLED library and wire up the RW pin instead of grounding it.

Customer Reviews

Based on 0 reviews
5 Star
0% 
0
4 Star
0% 
0
3 Star
0% 
0
2 Star
0% 
0
1 Star
0% 
0
Write a Review Ask a Question
  • Reviews (0)
  • Questions (0)

Thank you for submitting a review!

Your input is very much appreciated. Share it with your friends so they can enjoy it too!